In photography, getting the perfect shot depends on more than just artistry and skill. To make the most of your DSLR camera, you need to understand and master the right settings. Whether you’re a beginner or an expert, it’s important to know DSLR Camera Settings for Different Situations.
Imagine being able to adjust your camera to different environments and subjects. You can take close-up photos of small things and capture sports in motion. Also, appreciate calm scenery. This guide will help you understand DSLR camera settings for different situations. So you feel confident in any photography scenario.
Read on to explore the different types of photography and their best settings. We’ll cover portrait, landscape, action, low-light, macro, indoor, street, and wildlife photography. It’s time to unlock the full potential of your DSLR camera and unleash your creativity.
Contents
- 1 What are the Basic DSLR Settings?
- 2 DSLR Camera Settings for Different Situations: The Best Settings!
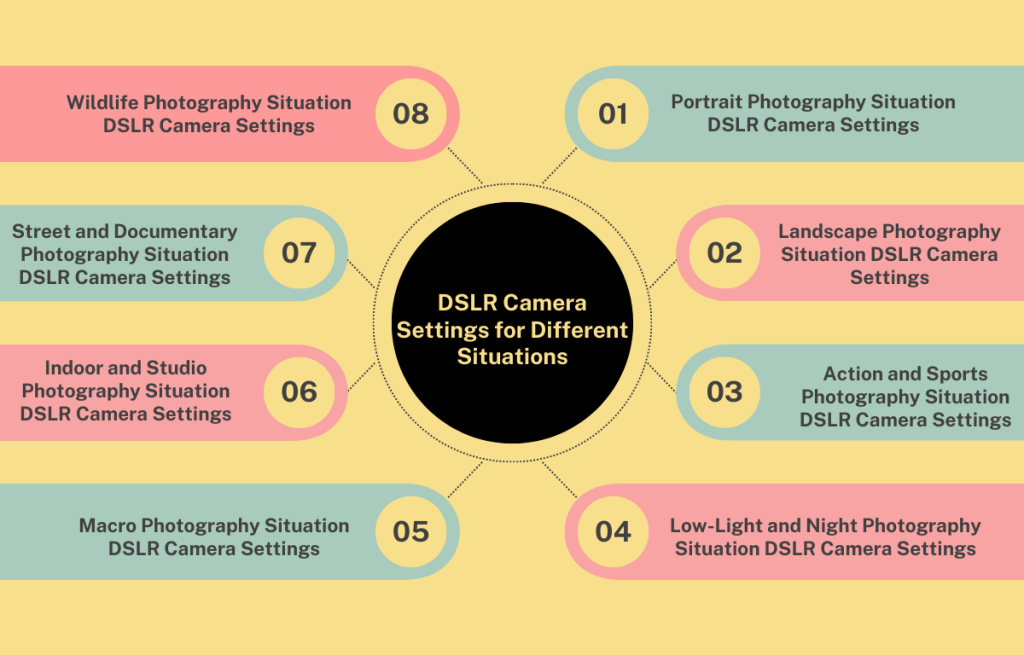
- 2.1 1. Portrait Photography Situation DSLR Camera Settings
- 2.2 2. Landscape Photography Situation DSLR Camera Settings
- 2.3 3. Action and Sports Photography Situation DSLR Camera Settings
- 2.4 4. Low-Light and Night Photography Situation DSLR Camera Settings
- 2.5 5. Macro Photography Situation DSLR Camera Settings
- 2.6 6. Indoor and Studio Photography Situation DSLR Camera Settings
- 2.7 7. Street and Documentary Photography Situation DSLR Camera Settings
- 2.8 8. Wildlife Photography Situation DSLR Camera Settings
- 3 What is the Best ISO Setting for Different Situations?
- 4 What Camera Settings Should I Use for Different Times of the Day?
- 5 What are the Best Camera Settings for Multiple People?
- 6 DSLR Camera Settings for Different Situations PDF
- 7 Conclusion
What are the Basic DSLR Settings?
The basic DSLR settings refer to the fundamental camera settings that allow you to control exposure and other key aspects of your photographs. These settings are essential for every photographer to understand and master. Here are the basic DSLR settings:
1. Aperture (f-stop)
Aperture refers to the size of the opening in your camera’s lens. It impacts two critical aspects: the amount of light entering the lens and the depth of field. In simpler terms, it controls how much of your image is in focus.
Practical Examples:
- Low f-stop (e.g., f/1.8) for a blurry background in portraits.
- High f-stop (e.g., f/16) for landscape photography with everything in focus.
2. Shutter Speed
Shutter speed determines the amount of time your camera’s sensor is exposed to light. It affects motion capture and image sharpness.
Practical Examples:
- Fast shutter speed (e.g., 1/1000s) for freezing fast action in sports.
- Slow shutter speed (e.g., 1/30s) for creative motion blur in waterfalls.
3. ISO
ISO measures your camera sensor’s sensitivity to light. Higher ISO settings are ideal for low-light conditions. But they can introduce noise or graininess.
Practical Examples:
- Low ISO (e.g., 100) for bright, sunny days.
- High ISO (e.g., 1600) for dimly lit indoor scenes.
4. White Balance
The white balance setting on your camera is important. It helps your photos look accurate in different lighting.
Practical Examples:
- Use the “Daylight” or “Sunny” preset. It warms up the colors, making outdoor scenes look vibrant and natural.
- Choose “Tungsten” or “Incandescent. It cools down warm indoor lighting, preserving accurate colors.
DSLR Camera Settings for Different Situations: The Best Settings!
To take good photos, you need creativity and a deep understanding of your camera. Whether you’re new or experienced in photography. Using the correct DSLR camera settings can greatly improve your photos. In this comprehensive guide, we’ll explore the optimal settings for various photography Situations.
1. Portrait Photography Situation DSLR Camera Settings
Portrait photography is all about capturing the essence of your subject. To achieve stunning portraits, consider these settings:
- Aperture: Use a wide aperture (e.g., f/1.8 – f/4) to create a shallow depth of field, blurring the background and highlighting your subject.
- Shutter Speed: Aim for a moderate shutter speed (e.g., 1/125s) to avoid motion blur.
- ISO: Keep ISO low (e.g., 100-400) to maintain image quality.
- White Balance: Choose a white balance setting that suits the lighting conditions (e.g., Daylight or Tungsten).
2. Landscape Photography Situation DSLR Camera Settings
Landscape photography is about capturing vast, scenic vistas. Here are the ideal settings:
- Aperture: Select a smaller aperture (e.g., f/8 – f/16) to ensure everything in the frame is sharp.
- Shutter Speed: Use a tripod and set a slower shutter speed (e.g., 1/30s) for optimal sharpness.
- ISO: Keep ISO as low as possible (e.g., 100) for maximum image quality.
- White Balance: Choose a white balance setting appropriate for the natural lighting conditions (e.g., Daylight or Cloudy).
3. Action and Sports Photography Situation DSLR Camera Settings
Capturing fast-moving subjects requires specific settings:
- Aperture: Use a wide aperture (e.g., f/2.8) to isolate your subject and create a blurry background.
- Shutter Speed: Opt for a high shutter speed (e.g., 1/1000s or faster) to freeze fast action.
- ISO: Adjust ISO to maintain proper exposure while keeping it as low as possible (e.g., 400-800).
- Continuous Shooting Mode: Activate continuous or burst mode to capture a series of shots in quick succession.
4. Low-Light and Night Photography Situation DSLR Camera Settings
Shooting in low light or at night requires careful settings:
- Aperture: Use a wide aperture (e.g., f/1.4 – f/2.8) to gather more light.
- Shutter Speed: Employ a tripod and slower shutter speed (e.g., 2-10 seconds) to capture light trails or stars.
- ISO: Gradually increase ISO (e.g., 800-3200) as needed, balancing exposure and noise.
- Use of Artificial Lighting: Consider using external flashes or light sources for added illumination.
5. Macro Photography Situation DSLR Camera Settings
Macro photography involves capturing tiny details. Follow these settings:
- Aperture: Use a small aperture (e.g., f/16 – f/32) to maximize depth of field.
- Shutter Speed: Steady the camera on a tripod and use a slower shutter speed (e.g., 1/60s or slower) to avoid motion blur.
- ISO: Keep ISO low (e.g., 100-400) for optimal image quality.
- Macro Lens: Invest in a dedicated macro lens for the best results.
6. Indoor and Studio Photography Situation DSLR Camera Settings
Indoor and studio settings require control over lighting:
- Aperture: Choose an aperture based on the desired depth of field.
- Shutter Speed: Use a tripod and adjust the shutter speed as needed for proper exposure.
- ISO: Adjust ISO to achieve the desired exposure without introducing noise.
- Use of Studio Lighting: Utilize studio lighting equipment for controlled lighting conditions.
7. Street and Documentary Photography Situation DSLR Camera Settings
For capturing candid moments on the streets, consider these settings:
- Aperture: Use a moderate aperture (e.g., f/4 – f/8) for a balance between subject and background.
- Shutter Speed: Maintain a fast shutter speed (e.g., 1/250s) to freeze spontaneous action.
- ISO: Adjust ISO as needed to maintain proper exposure, considering the available light.
8. Wildlife Photography Situation DSLR Camera Settings
Photographing wildlife requires patience and the right settings:
- Aperture: Use a wide aperture (e.g., f/2.8 – f/5.6) to isolate the subject from the background.
- Shutter Speed: Employ a fast shutter speed (e.g., 1/500s or faster) to freeze animal movement.
- ISO: Adjust ISO to maintain proper exposure in varying light conditions.
- Telephoto Lens: Invest in a telephoto lens for better reach.
Learning how to use various camera settings helps you with different photography challenges. To get better, try new things, practice a lot, and adjust your settings for each situation. With time and experience, you'll become a more versatile and skilled photographer.
What is the Best ISO Setting for Different Situations?
The best ISO setting for different situations depends on various factors, including available light, desired image quality, and the type of photography you’re doing. Here are some general guidelines for ISO settings in different situations:
1. Low Light Photography
In low-light conditions, use a higher ISO (e.g., 800-1600) to ensure proper exposure. However, be mindful of noise, and consider using noise reduction techniques during post-processing.
2. Outdoor Daylight
In bright daylight, a low ISO (e.g., 100-200) is recommended. This helps maintain image quality and prevents overexposure.
3. Action and Sports Photography
For fast-moving subjects, a moderate ISO setting (e.g., 400-800) may be necessary to achieve a fast shutter speed while maintaining image quality.
What Camera Settings Should I Use for Different Times of the Day?
Adjusting your camera settings for different times of the day is essential for achieving optimal exposure and capturing the mood of your scenes. Here are some general camera settings to consider for various times of the day:
1. Morning and Golden Hour
During the golden hour, use a wider aperture (e.g., f/2.8) to capture soft, warm light. Adjust ISO and shutter speed accordingly to maintain proper exposure.
2. Midday and Harsh Sunlight
In harsh sunlight, a smaller aperture (e.g., f/8-f/16) helps control excessive light and shadows. Use a lower ISO (e.g., 100-200) for the best results.
3. Evening and Blue Hour
During the blue hour, leverage ambient light by using a tripod for longer exposures. Experiment with different settings to capture the unique atmosphere of this time.
What are the Best Camera Settings for Multiple People?
When photographing multiple people, whether it’s a group portrait, family gathering, or an event, selecting the right camera settings is crucial to ensure that everyone looks their best and the composition is well-balanced. Here are some recommended camera settings for capturing multiple people:
1. Portrait Photography
- Use a wide aperture (e.g., f/1.8) for beautiful bokeh in individual portraits.
- Opt for a moderate ISO (e.g., 100-400) to maintain image quality.
- Adjust shutter speed to capture candid expressions (e.g., 1/125s).
2. Group Shots
- Select a smaller aperture (e.g., f/5.6-f/8) for group shots to ensure everyone is in focus.
- Adjust shutter speed to capture candid moments (e.g., 1/250s).
- Keep ISO low for optimal image quality (e.g., 100-400).
DSLR Camera Settings for Different Situations PDF
Don’t forget to download our handy PDF guide for quick reference while you’re out shooting. It summarizes the key settings for various situations, making it an invaluable tool for your photography adventures
🌟 What You’ll Get:
- 📷 Practical tips and tricks for portrait, landscape, action, low-light, macro, indoor, street, and wildlife photography.
- 📷 Ideal settings for each scenario, ensuring you capture breathtaking shots every time.
- 📷 Expert advice to enhance your photography skills and creativity.
📥 Download Your DSLR Camera Settings for Different Situations PDF📥
🌟Don't miss out on this invaluable tool for photographers of all levels! Download your PDF guide now and unlock the secrets to stunning photography in any situation. 📥
Conclusion
As we finish learning about DSLR camera settings, you have begun a new journey in photography. With this guide, you can capture incredible photos anywhere, anytime.
Keep in mind that photography is more than just the tools you use. It’s your own creative way of seeing the world. Your DSLR camera is a powerful tool. When used correctly, it can turn your ideas into beautiful visuals.
To achieve your photography goals, change your camera settings for various situations. Such as crowded streets, scenic views, close-ups, or sports. Keep experimenting, practicing, and improving your photography skills. There are countless chances for growth and innovation in this field.
Go explore new things and keep telling your visual stories with your DSLR camera. When you adjust your settings for different situations. You’ll notice that photography is always evolving. It’s always ready for your special point of view.
Additional Resources
For further learning, check out these recommended photography Articles and our suggestions for photography gear and accessories to enhance your skills and elevate your photography to the next level.
- How to Use a DSLR Camera for Beginners: Enhance Newbies Skill !
- DSLR Camera Tips and Tricks: Beginners Guide
- What is the Best DSLR Camera for Photography
- Best DSLR Photography Tips and Tricks: Enhance Your Skills !
1 thought on “DSLR Camera Settings for Different Situations: From Beginner to Pro!”