To charge an Arlo camera, remove the battery, connect it to the charger, and plug the charger into a power source. Wait for it to fully charge, then reinsert the battery and remount the camera.
Arlo is a popular brand for home surveillance systems. They offer wireless cameras for indoor and outdoor use.
This guide will tell you how to charge your Arlo camera properly. Also, It will help you maintain uninterrupted surveillance coverage and peace of mind.
If you’re new to Arlo, or need a refresher, knowing how to charge your cameras properly is important. It will help you get the most out of them. Let’s delve into the details of how to keep your cameras powered up and your property secure.
Contents
- 1 Importance Of Keeping an Arlo Camera Charged
- 2 How to Properly Charge Your Arlo Camera – 3 Ultimate Guide for Batter Surveillance!
- 3 Method 01: General Method
- 4 Method 2: USB Charger Charging
- 5 Method 3: Solar Panel Charging (For Compatible Models)
- 6 Arlo Camera Applications
- 7 Different Features of Arlo Camera
- 8 Best Way to Use an Arlo Camera
- 9 Pros & Cons Of Using an Arlo Camera for Security Purposes
- 10 FAQ
- 11 Conclusion
Importance Of Keeping an Arlo Camera Charged
It is very important to keep an Arlo camera charged for good security and surveillance. These cameras act as your eyes on your property. They let you watch what’s happening and react quickly to possible dangers. With a fully charged Arlo camera, you can have constant protection for your home or business. It gives you peace of mind, knowing that you’re always safeguarded.
If an Arlo camera’s battery is low or dead, it becomes vulnerable and may cause gaps in your surveillance system. Not recording crucial moments can jeopardize gathering evidence in case of an incident. Make sure to charge your Arlo camera regularly so it’s always ready to capture any suspicious activities. This will help you handle security concerns better.
In addition, a charged Arlo camera helps make your security setup more effective. A strong camera is important during emergencies for identifying intruders or collecting information. Charging regularly makes the camera last longer and reduces the need for maintenance. This helps you get the most out of your investment in these surveillance devices.
How to Properly Charge Your Arlo Camera – 3 Ultimate Guide for Batter Surveillance!
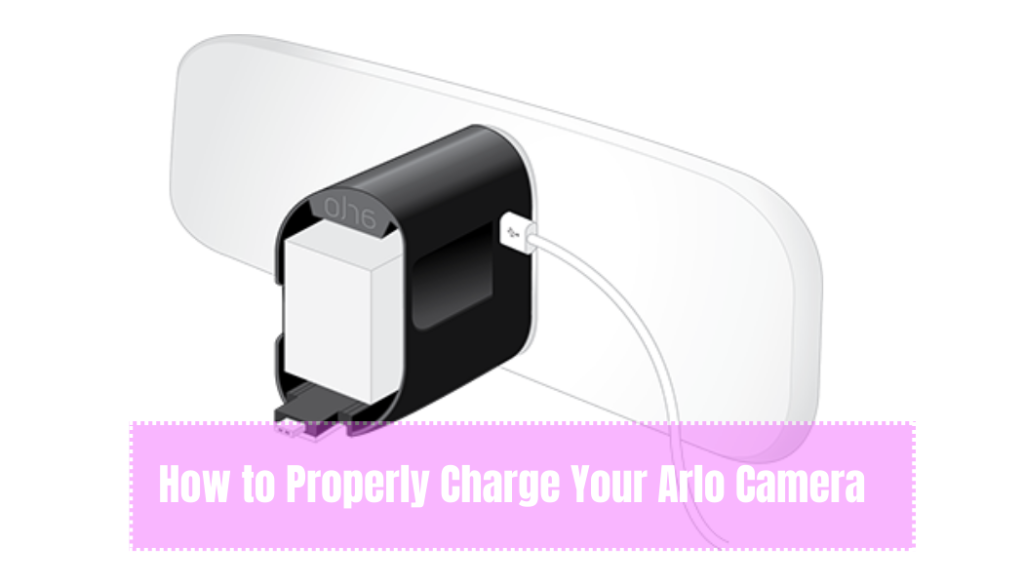
To make sure Arlo cameras work well, it’s important to know how to charge them properly. If you are new to Arlo or need a reminder, this guide will though 3 Method how to keep your cameras charged and your property safe.
Method 01: General Method
Step 1: Preparation
Before you begin charging, gather the necessary equipment:
- Arlo camera
- Rechargeable battery
- Charging cable
- Power source (wall outlet or USB charger)
The Step 2: Removing the Camera Battery
- Carefully remove the Arlo camera from its mounting location.
- Depending on the model, locate the latch or slide mechanism to open the battery compartment.
- Gently remove the rechargeable battery from the camera.
Step 3: Connecting the Charger
- Use the provided charging cable designed for Arlo cameras.
- Insert the charging cable into the camera’s charging port securely.
Step 4: Powering the Camera
- Connect the other end of the charging cable to a power source. You can use a wall outlet or a USB charger.
- Once connected, the camera’s LED indicator will usually display the charging status. It might blink or change color to indicate charging is in progress.
The Step 5: Waiting for Full Charge
- Allow the camera battery to charge fully. This can take several hours, so be patient.
- Some Arlo models might have different LED indicator patterns to show when the battery is fully charged.
Step 6: Reinserting the Battery
- Once the battery is fully charged, carefully disconnect the charging cable.
- Reinsert the charged battery into the camera, ensuring it’s properly aligned.
The Step 7: Securing the Battery Compartment
- Close the battery compartment securely according to the specific mechanism of your Arlo camera model.
Step 8: Remounting the Camera
- Place the camera back on its original mounting location.
- Ensure it’s securely positioned to maintain proper surveillance coverage.
Don’t forget to check the user manual for your Arlo camera. It has instructions for different models and charging variations. To keep your Arlo camera powered and ready for home security, follow these steps carefully.
Method 2: USB Charger Charging
1. Follow Steps 1 and 2 from Method 1.
2. USB Charger Connection:
- Instead of a wall outlet, plug the charging cable into a USB charger like a laptop or USB power adapter.
3. Charging Check:
- Ensure the LED status light indicates charging.
4. Complete the Process:
- Reinsert the charged battery.
- Secure the battery compartment.
- Remount the camera.
Method 3: Solar Panel Charging (For Compatible Models)
1. Solar Panel Setup:
- If your Arlo camera is compatible, mount a solar panel in a sunny location.
2. Connect Solar Panel:
- Attach the solar panel’s cable to the camera’s charging port.
3. Continuous Charging:
- The solar panel will harness sunlight to charge the camera’s battery over time.
4. Verify Camera Connectivity:
- Ensure the camera is connected to your Arlo system.
- Confirm the battery is correctly inserted.
You can find the best way to charge your Arlo camera by trying these three methods. This will keep your surveillance system working and protect your property. Always consult your camera’s manual for specific instructions tailored to your model.
Arlo Camera Applications
Arlo Camera Applications are designed to work with Arlo Cameras. It provides surveillance and security for your apartment or business. Arlo Camera Applications can be used to view live footage from your cameras, record videos, take snapshots, and more.
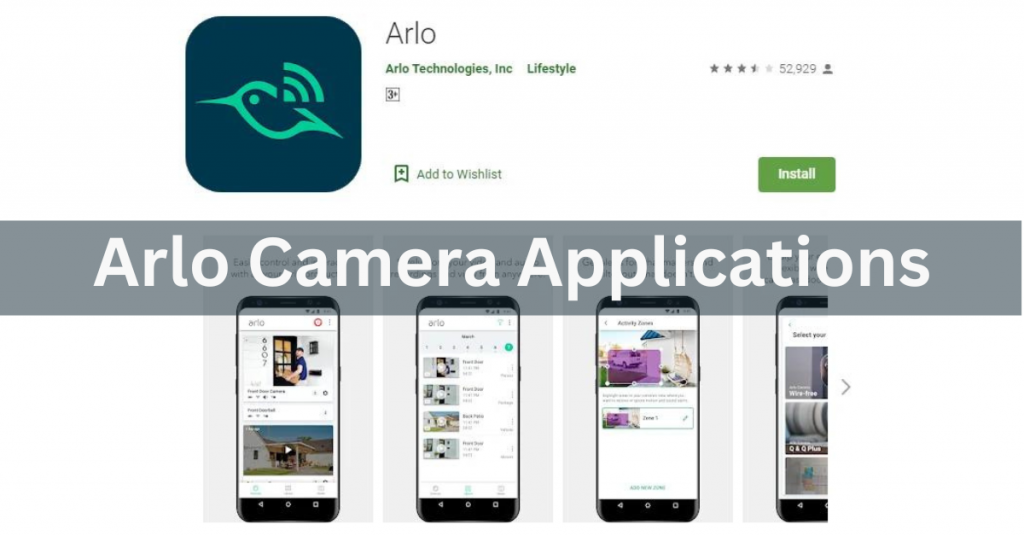
Arlo Camera Applications can also be used to create custom alerts. So you can be notified when something important happens. Arlo Camera Applications are available for both iOS and Android devices, and they can be downloaded from the App Store or Google Play.
This application is Amazing! But you need to know about Arlo Camera’s security pros & cons.
Different Features of Arlo Camera
Arlo cameras are designed to capture high-quality video and photos, and they come with a variety of features such as night vision and motion detection.

The Arlo Camera System is Made Up of Three Components
- A base station.
- One or more wire-free cameras.
- A web-connected device like a smartphone, tablet, or computer.
A Base Station
The base station keeps the cameras charged and connected to the internet. While the cameras themselves are battery-powered and can be placed anywhere within range of the base station. When the Arlo camera is not powering on, then needs to be reset.
One Or More Wire-Free Cameras
The web-connected device allows you to view live footage from the cameras and record video or snapshots if desired.
A Web-Connected Device Like a Smartphone, Tablet, or Computer
Whether you’re looking to deter burglars or want to check in on your pets while you’re away. Arlo can give you the peace of mind you need.
You know that The Arlo Camera system is made up of three components. So you are thinking about how to set up an Arlo Camera and charge it? It’s very simple. Now I’m presenting that.
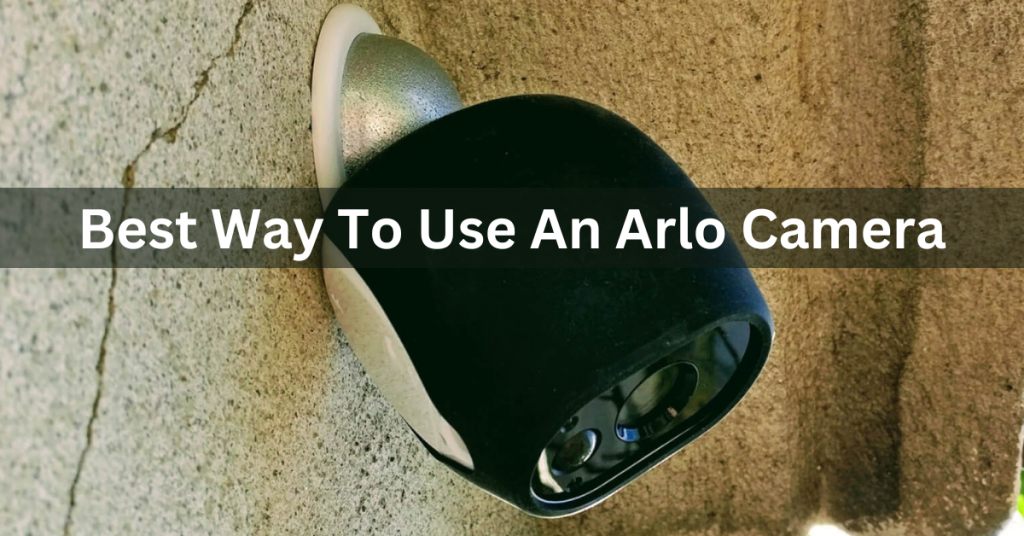
Best Way to Use an Arlo Camera
The Arlo camera is a fantastic tool for monitoring your house or place of business. Here are some tips on how to get the most out of your Arlo camera:
- Be sure to place the camera in a strategic location. The camera must position so that it can see the region you wish to monitor.
- Configure the settings on the camera to meet your needs. You can customize any number of settings on the Arlo camera to meet your own requirements.
- Keep the camera charged. The battery life on the Arlo camera is very good, but it is always a good idea to keep a spare battery handy just in case.
- Check the footage from your Arlo camera regularly. By doing this, you can identify any possible security issues before they worsen.
- Take advantage of the cloud storage feature on the Arlo camera. This feature allows you to store your footage off-site, so even if your camera is stolen or damage, you will still have your footage available.
By following these tips, you can rest assure that you will have peace of mind knowing that your home or business is being monitored by one of the best visible security cameras on the market today.
Pros & Cons Of Using an Arlo Camera for Security Purposes
Arlo cameras are a type of security camera that can use for both home and business security purposes. Arlo cameras are wireless, making them easy to install, and they offer HD-quality video.
Pros
- One of the main advantages of using an Arlo camera is that it can monitor.
- If you have access to the internet, you can look in on your house or place of business from anywhere.
- Another advantage of using an Arlo camera is that it offers a free cloud storage option.
Cons
- The video quality may be poor.
- Battery life is short.
If you want to charge your Arlo camera, you should choose a different way.
Related Post : How to Set Up A Security Camera : Beginner
FAQ
How do I know if my Arlo camera is charging?
You can tell if your Arlo camera is charging by observing the LED indicator on the camera. Typically, the LED will display a specific color, pattern, or flashing status while charging. Consult your camera’s manual for the exact charging indicator details based on your model.
How long do you charge an Arlo camera battery?
The time it takes to fully charge an Arlo camera battery depends on the model and current charge level. It usually takes several hours, often around 4 to 6 hours, to charge an Arlo camera battery from empty to full. To know how long to charge your Arlo camera, check the manual for your specific model.
How do you charge a dead Arlo battery?
To charge a dead Arlo battery, follow these steps:
- Remove the camera from its mount.
- Open the battery compartment and insert the dead battery.
- Connect the Arlo charging cable to the camera’s charging port.
- Plug the cable into a power source (wall outlet or USB charger).
- Monitor the LED indicator for charging status.
- Allow the battery to charge fully, which can take several hours.
- Reinsert the charged battery, secure the compartment, and remount the camera.
How Long Arlo Camera Takes to Charge?
The time it takes for an Arlo camera to fully charge depends on the model and battery level. Typically, it takes around 4 to 6 hours to charge an Arlo camera battery from empty to full. Check your camera’s manual for exact charging times, as they can vary depending on the Arlo model.
Conclusion
It is important to know How To Charge Arlo Camera? in order to keep the device working properly. While the process may seem like a hassle, it is necessary in order to maintain the optimum performance of How To Charge Arlo Camera? The specialty of Arlo camera can see in the darkness.
With a few simple steps, you can recharge the Arlo Camera and have it ready to go again.It’s a very Amazing post For those Who don’t know. I hope This post will help you & clear your all doubt about how to Charge Arlo Camera.
6 thoughts on “How to Properly Charge a Arlo Camera – 3 Easy <strong>Methods</strong>!”