
Safety and security are important for homeowners, businesses, and families. Installing a security camera system is necessary, not just a luxury. Security cameras watch your property, providing protection and peace of mind. Also, provide useful information about activities nearby.
This guide will help you set up a security camera to protect your home, business, or loved ones. Also, we will teach you how to improve your security and surveillance skills.
You will learn how to pick a camera, find a good spot, adjust settings, and enable remote access. Now, let’s begin making our environment safer and more secure by learning how to set up a security camera.
Contents
- 1 Where to Place Your Home Security Camera?
- 2 How to Set Up a Security Camera: The Simple Steps
- 3 Before You Begin
- 4 Step 1: Select the Camera Location
- 5 Step 2: Install the Camera Hardware
- 6 Step 3: Configure Camera Settings
- 7 Step 4: Mobile App and Remote Access
- 8 Step 5: Maintenance and Troubleshooting
- 9 Do You Need the Internet to have Security Cameras?
- 10 How do You Connect Security Cameras?
- 11 How Many Cameras Should a House Have?
- 12 Last Word
Where to Place Your Home Security Camera?
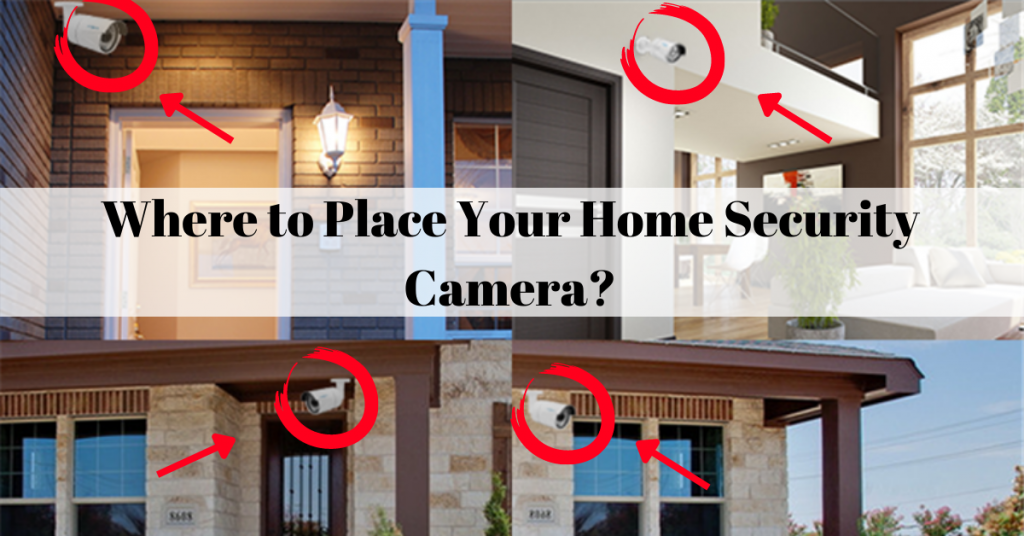
It’s crucial to consider where you install your home camera system. You want to ensure it gets the best view possible of any areas you want to monitor. You also want to be sure to place it out of reach of anyone who might try to tamper with it.
A good start is by placing your camera high up on a wall or in a corner. This will give it a good view of the room or area you want to monitor. You can also experiment with different angles to find the best view. Just be careful not to place the camera near any windows or entrances where someone might be able to access it.
Additionally, you should keep your camera out of direct sunlight. This can cause glare and make it harder to see the footage. If you are using an interior camera, put it close to an electrical outlet so you can plug it in quickly. And if you’re using a wireless camera, be sure to place it close enough to your router so it can get a good signal.
Take the time to find the perfect spot for your home. Security cameras will help you get the best possible footage. Experiment with different positions until you find the ideal placement for your needs.
How to Set Up a Security Camera: The Simple Steps
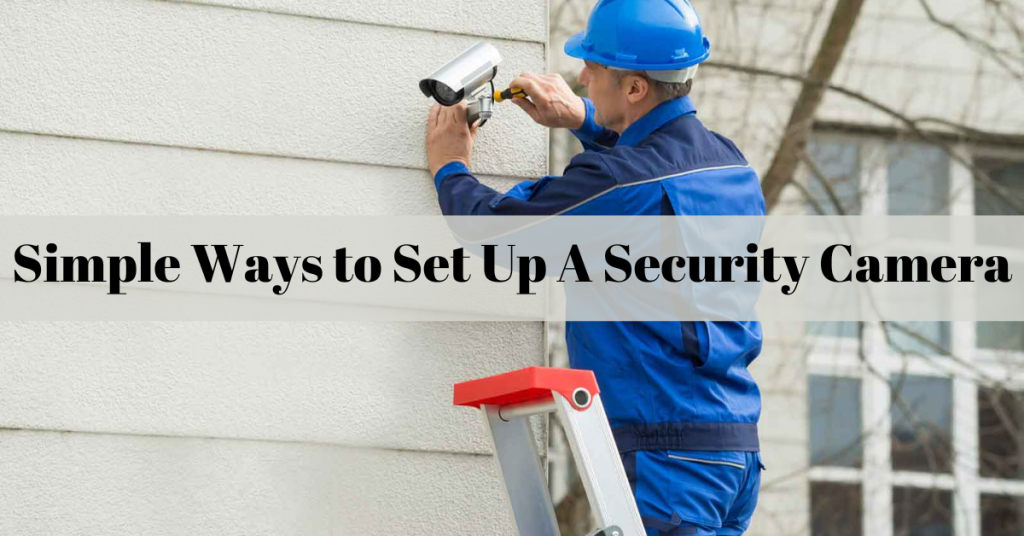
Security cameras can help make your home or business safer and more secure. Setting up a security camera is easy. You can monitor your property, deter intruders, and watch loved ones. This guide will walk you through the steps to set up a security camera effectively.
Before You Begin
Before you start the installation process, it’s important to take some preliminary steps:
- Determine Your Needs: Decide where you want to install your security camera. And what you want to monitor. Think about where you’ll put it, if it works in the dark, and how far it can see.
- Choose the Right Camera: Select a security camera that suits your needs. Options include wired, wireless, IP (Internet Protocol) cameras, and cloud-based systems. Ensure it’s compatible with your existing devices and network.
- Check Local Regulations: Familiarize yourself with local laws and regulations regarding surveillance cameras. Privacy laws may affect where and how you install them.
- Gather Necessary Tools: Collect the tools and equipment you’ll need for installation. That may include a screwdriver, drill, screws, and a ladder.
Step 1: Select the Camera Location
Choosing the right location for your security camera is crucial. Consider the following:
- Entry Points: Place cameras near entrances, such as front and back doors, windows, and garage doors.
- High-Risk Areas: Identify areas prone to theft or vandalism, like the backyard, parking lot, or storage shed.
- Visibility: Ensure the camera is visible but out of reach to deter potential intruders.
- Power Source: Determine if the location has access to power or if a wireless option is needed.
Step 2: Install the Camera Hardware
The installation process may be different for each camera type, but here are some basic steps:
Wired Camera Installation:
- Mount the Camera: Use a drill and screws to securely mount the camera bracket on a wall or ceiling. Ensure the camera is level.
- Connect Cables: Attach the camera’s power cable and video cable to the corresponding ports on the camera. Route the cables neatly to the DVR or NVR (Network Video Recorder).
- Power Supply: Plug the camera into a power source, either a nearby outlet or a power over Ethernet (PoE) switch.
- Set Up the DVR/NVR: Connect the video cable from the camera to the DVR/NVR. Power up the recorder and follow the manufacturer’s instructions to set up the system.
Wireless Camera Installation:
- Mount the Camera: Follow the same steps as for wired cameras to mount the camera bracket securely.
- Connect to Wi-Fi: Power on the camera and connect it to your Wi-Fi network as per the manufacturer’s instructions.
Step 3: Configure Camera Settings
After installing the hardware, configure the camera settings:
- Access the Camera Interface: Use a computer or mobile device to access the camera’s interface. This typically involves entering the camera’s IP address into a web browser.
- Set Up Recording: Configure recording settings, such as motion detection, continuous recording, or scheduled recording. Decide where the footage will be stored, whether on the camera, an SD card, or a cloud service.
- Adjust Camera Angle: Fine-tune the camera angle to capture the desired area. Make sure it’s not pointed at obstructions like trees or walls.
- Test the Camera: Verify that the camera is working correctly by checking the live feed and testing the recording functionality.
Step 4: Mobile App and Remote Access
To monitor your security camera remotely:
- Download the App: Install the manufacturer’s mobile app on your smartphone or tablet.
- Add the Camera: Follow the app’s instructions to add your camera by scanning a QR code or entering its unique identifier.
- Access Footage: Use the app to view live feeds, access recorded footage, and receive notifications for motion or other events.
Step 5: Maintenance and Troubleshooting
To keep your security camera system running smoothly:
- Regularly Check Camera Position: Ensure the camera remains properly aligned and clean the lens if it becomes dirty.
- Update Firmware: Check for firmware updates for your camera and recorder and apply them as needed.
- Review Storage: Monitor your storage capacity and delete old footage to make room for new recordings.
- Address Connectivity Issues: Troubleshoot any network or connectivity issues that may arise.
To maintain your security camera system, follow these steps and perform regular maintenance. This will help protect your property and loved ones.
Do You Need the Internet to have Security Cameras?
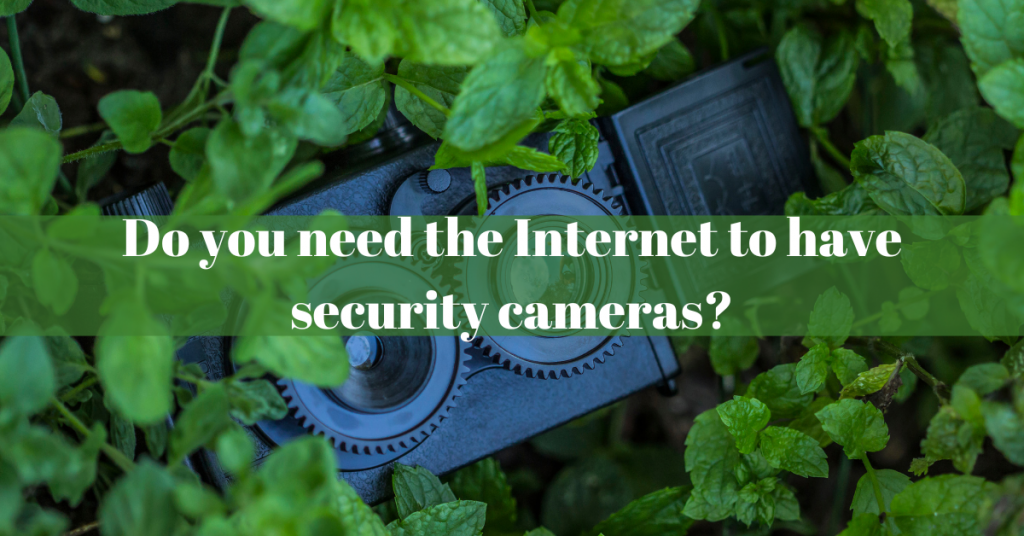
Suppose you set up a Security Camera system for your home or office. Then it would be best if you were sure you have enough bandwidth for the system. The bandwidth should not be too low. because this will cause problems watching videos and other activities on the computer.
The best way to get more bandwidth is by connecting an Ethernet cable between two computers and adding an extra router. This will provide more space for each device connected. The router and thus improve their performance. if you are thinking about the security camera.
Then there are many things that you need to make sure of. A security camera installation takes extensive preparation. You need to understand that different cameras can perform different functions. These jobs should be identified.
How do You Connect Security Cameras?
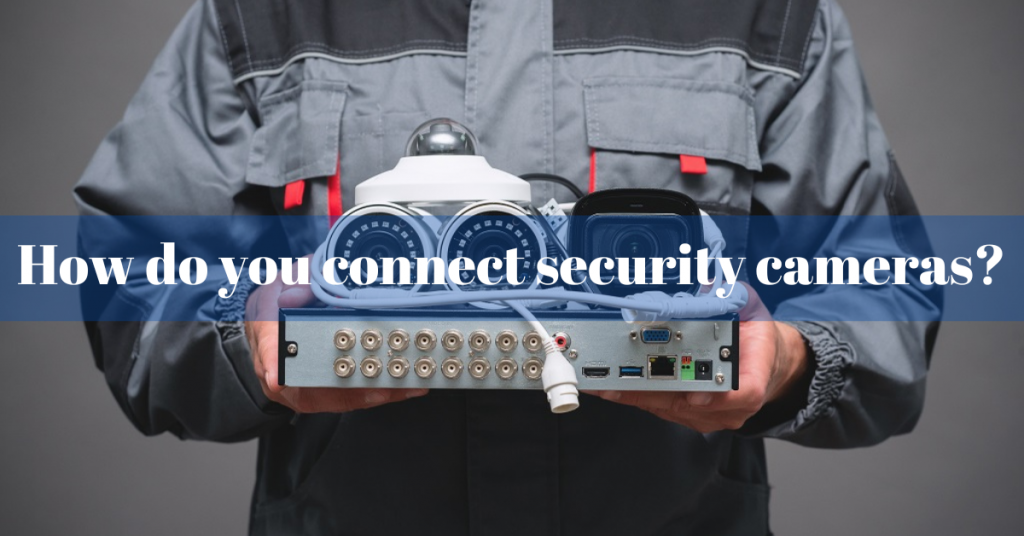
The first thing that you need to do is decide which kind of cameras should be used in your home or office. Two types of cameras are accessible: analog and digital cams. An analog cam uses a video signal, while a digital cam transmits only digital signals. Both types of cameras have their advantages, but they have their weaknesses as well. Analog cams have been around for decades. But they do not produce clear videos because they rely on the human eye for clarity. Digital cams are much more affordable. Then analog ones can be used. You can use analog ones anywhere without any problem. You can use analog ones anywhere without any problem.
How Many Cameras Should a House Have?
It depends on the size and layout of your home and your personal security needs.
For example:
If your home is big and has many of windows and doors, you’ll probably need more cameras than someone who has a smaller house or apartment. You may also consider adding additional cameras if you live in a high-crime area. For every 500 sq ft of your home, we advise installing at least one camera.
This will guarantee that your home is totally covered. And also that you can see any potential dangers clearly. if you are really worried about security. To learn more, we advise speaking with a qualified security consultant. How many cameras would they recommend for your situation?
Last Word
Congratulations! You have made progress in making yourself more secure and finding peace. By following this guide. you can install a security camera system to keep your property and loved ones safe.
Choose the correct camera and position it well. And adjust the settings for improved security and monitoring. Stay connected to what matters by watching your surroundings. With remote access from anywhere.
To keep your security camera system working well. Remember to do regular maintenance, updates, and troubleshooting. Stay watchful and feel at ease knowing you’ve taken action to protect your home or business.
5 thoughts on “How to Set Up A Security Camera: 5 Easy Steps!”