YouTube has become more than just a place to share videos. It’s now a vibrant community of creators and influencers. Live streaming is a great way to connect with your audience in real time. If you want to share your gaming adventures and educational tutorials. Also, your daily life, creative talents, and the quality of your live stream is very important.
At the heart of this live streaming experience is your camera setup. Having the proper camera and setup can impact the quality of a live stream. This guide will help you set up your camera for live streaming on YouTube.
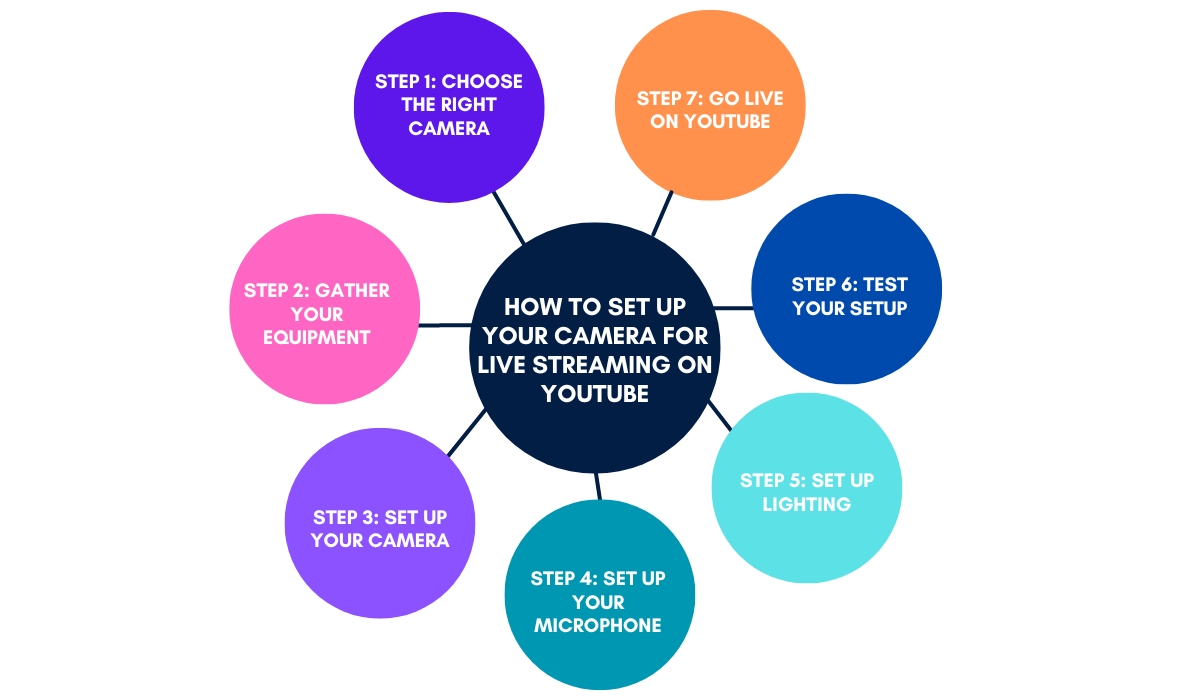
We will guide you through every step of creating captivating live content. This includes choosing the right camera, equipment, and camera settings. We’ll also help you fine-tune your microphone and set up effective lighting. Additionally, we’ll assist you in conducting test runs. Our goal is to ensure your audience keeps coming back for more. So, let’s dive in and ensure your YouTube live streams are a visual and auditory delight for your viewers!
Contents
- 1 What Equipment is Needed for YouTube Live Stream?
- 2 How to Set Up Your Camera for Live Streaming on YouTube?
- 3 Step 1: Choose the Right Camera
- 4 Step 2: Gather Your Equipment
- 5 Step 3: Set Up Your Camera
- 6 Step 4: Set Up Your Microphone
- 7 Step 5: Set Up Lighting
- 8 Step 6: Test Your Setup
- 9 Step 7: Go Live on YouTube
- 10 How do you live stream on YouTube with a camera?
- 11 Best Practices and Tips
- 12 Conclusion
- 13 FAQs
- 14 Additional Resources
What Equipment is Needed for YouTube Live Stream?
YouTube live streaming has gained immense popularity, offering content creators a dynamic way to engage with their audience in real-time. To ensure a smooth and professional live stream, you’ll need the right equipment. In this section, we’ll break down the essential gear required for a successful YouTube live stream.
01. Camera Selection for YouTube Live Stream
Selecting the right camera is the foundation of a successful live stream. Factors to consider include:
- Camera Type: Decide between DSLRs, mirrorless cameras, or webcams based on your budget and needs.
- Resolution and Frame Rate: Ensure your camera supports the desired resolution and frame rate for your content.
- Clean HDMI Output: Look for cameras with clean HDMI output for a seamless connection to your computer.
- Auto-Focus and Low-Light Performance: Consider these features for better video quality in various conditions.
Recommended Camera Models
- Canon EOS M50 Mark II
- Sony Alpha a6400
- Logitech C920 (for budget-friendly options)
02. Additional Equipment Needed for YouTube Live Stream
Apart from the camera, you’ll need some additional equipment:
- Microphones: Choose from USB microphones, lavalier microphones, or shotgun microphones to ensure clear audio.
- Tripods and Mounts: Stabilize your camera with a tripod or mount for steady shots.
- Lighting Equipment: Good lighting is essential for a professional-looking stream. Consider ring lights, softboxes, or LED panels.
- Capture Cards: If your camera doesn’t have built-in streaming capabilities, you’ll need a capture card to connect it to your computer.
How to Set Up Your Camera for Live Streaming on YouTube?

Streaming live on YouTube is a great way to connect with your audience and share content. You can stream gaming, vlogging, tutorials, or any creative project. Setting up your camera correctly is crucial for professional and captivating live streams. In this section, we’ll walk you through the steps to set up your camera for live streaming on YouTube.
Step 1: Choose the Right Camera
Before you start setting up, ensure you have a camera suitable for live streaming. Although smartphones have good cameras, dedicated digital cameras usually offer higher quality. Also. we discussed Camera Selection for the YouTube Livestream in the above. you can read to choose the right one for you.
Step 2: Gather Your Equipment
Aside from your camera, you’ll need some additional equipment:
- Tripod: A stable tripod will keep your camera steady during the stream.
- HDMI Cable: If your camera has an HDMI output, you’ll need a compatible cable to connect it to your computer.
- Capture Card (if necessary): Some cameras may require a capture card to connect to your computer for live streaming.
- Microphone: A good-quality external microphone will improve your audio significantly.
- Lighting: Ensure you have adequate lighting to illuminate your face and surroundings.
Step 3: Set Up Your Camera
- Choose a suitable location: Pick a well-lit and quiet space for your live stream. When choosing a background, make sure it looks good and relates to your content.
- Mount your camera on the tripod: Make sure it’s stable and positioned at eye level or slightly above.
- Connect the camera to your computer: Use an HDMI cable and a compatible capture card if necessary. This setup allows your computer to recognize your camera as a webcam.
- Configure camera settings:
- Set your camera to ‘Manual’ or ‘Aperture Priority’ mode for more control over exposure.
- Adjust focus settings to ensure you’re sharp and in focus.
- Set the white balance to match your lighting conditions.
- Disable any auto power-off settings on your camera.
- Frame your shot: Use the camera’s screen or viewfinder to frame yourself properly. Ensure you have enough headroom and that you’re centered.
Step 4: Set Up Your Microphone
Good audio quality is crucial for a successful live stream. Here’s how to set up your microphone:
- Connect your microphone to your computer: Use a USB microphone for simplicity. Or an XLR microphone with an audio interface for higher quality.
- Configure audio settings:
- Go to your computer’s audio settings and select your microphone as the input device.
- Test your microphone and adjust the input level to avoid distortion.
- Reduce background noise: Minimize noise in your streaming space. Like as fans or background chatter, to improve audio quality.
Step 5: Set Up Lighting
Proper lighting can make a significant difference in the quality of your live stream. Here are some lighting tips:
- Use soft, even lighting: Avoid harsh shadows by using diffusers or softboxes to soften the light source.
- Key, fill, and backlighting: Consider a three-point lighting setup with a key light (main light), a fill light (reduces shadows), and a backlight (creates separation from the background).
- Adjust for white balance: Ensure your lighting doesn’t introduce color casts that affect the camera’s white balance settings.
Step 6: Test Your Setup
Before going live, it’s essential to test your setup:
- Open your streaming software (e.g., OBS Studio, Streamlabs OBS, or YouTube Studio).
- Configure your camera as the video source.
- Check your microphone and audio settings.
- Test your internet connection to ensure you have a stable upload speed.
- To check the quality of your video and audio, do a test stream on YouTube. Set the privacy settings to “unlisted” or “private.”
Step 7: Go Live on YouTube
Once you’re satisfied with your setup and everything is working correctly. you’re ready to go live on YouTube:
- Open your YouTube Live Dashboard.
- Create a new live stream event and set the title, description and privacy settings. and other details.
- Choose your streaming software as the source for video and audio.
- Click “Go Live” to start your live stream.
- Engage with your audience, respond to comments, and enjoy your live-streaming experience!
Remember, practice makes perfect. The more you stream, the better you'll become at managing your camera, audio, and lighting for an engaging and professional live stream on YouTube. Good luck!
How do you live stream on YouTube with a camera?
To live stream on YouTube with a camera, you’ll need to follow a few steps to configure your YouTube account. Here’s the steps:
- Create a YouTube Channel: If you haven’t already, set up a YouTube channel for your content.
- Access YouTube’s Live Streaming Feature: Go to your YouTube Studio and click on “Go Live” to access the live streaming feature.
- Configure Camera Settings: Connect your camera to your computer via the capture card, and configure camera settings for live streaming.
- Set up Video Encoder Software: Use software like OBS Studio or Streamlabs OBS to configure streaming settings and add overlays, if desired.
Best Practices and Tips
A few additional tips for a successful livestream:
- Interact with your audience through chat and comments.
- Promote your live stream in advance on social media.
- Be prepared to troubleshoot common issues like audio or video glitches.
Conclusion
Congratulations! You’ve reached the end of our guide on setting up your camera for live streaming on YouTube. Now, you know how to make a great live stream for your viewers.
When you’re getting ready to use your camera, sound, and lights. Don’t forget that how you behave and speak to your audience is just as crucial as the technical aspects. Continue to improve your skills and try different setups. Most importantly, enjoy connecting with your audience in real time.
As you embark on your live streaming adventure, keep in mind that practice makes perfect. When you encounter difficulties at first, don’t give up. See them as chances to learn and make your setup better. Engage with your audience, listen to their feedback, and adapt to their preferences.
You can make live streams that are fun and inspiring by setting up your camera well and being creative. Start streaming what you love on YouTube and may your live videos be a hit!
FAQs
Q: What is the best camera for live streaming on YouTube?
The best camera for live streaming depends on your budget and needs. You can choose from popular cameras like the Canon EOS M50 Mark II, Sony Alpha a6400, and the affordable Logitech C920.
Additional Resources
To learn more about YouTube Cameras and live streaming, read the below articles:
What Camera Do Youtubers Use For Gaming
1 thought on “How to Set Up Your Camera for Live Streaming on YouTube?”