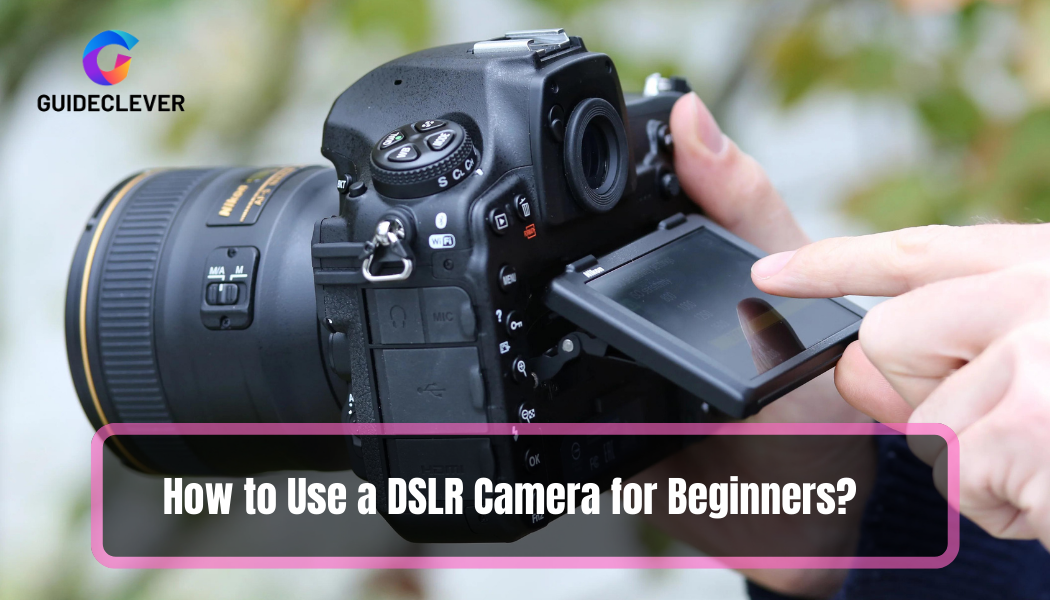
Starting DSLR photography is an exciting and rewarding adventure. A DSLR camera can be overwhelming for beginners because of its many buttons and settings. With the right guidance and a desire to learn, you can unleash your camera’s full potential. But now the question is How to Use a DSLR Camera for Beginners?
This guide helps beginners learn DSLR photography and start their photographic journey confidently. If you want to improve your photography skills, this guide will help. It explains how to use a DSLR camera, from its basic parts to important shooting techniques.
Now, let’s explore how to use your DSLR camera to take amazing photos that capture the moment.
Contents
- 1 What is a DSLR Camera?
- 2 How Does a DSLR Camera Work?
- 3 How to Use a DSLR Camera for Beginners: Getting Started with Your DSLR Camera!
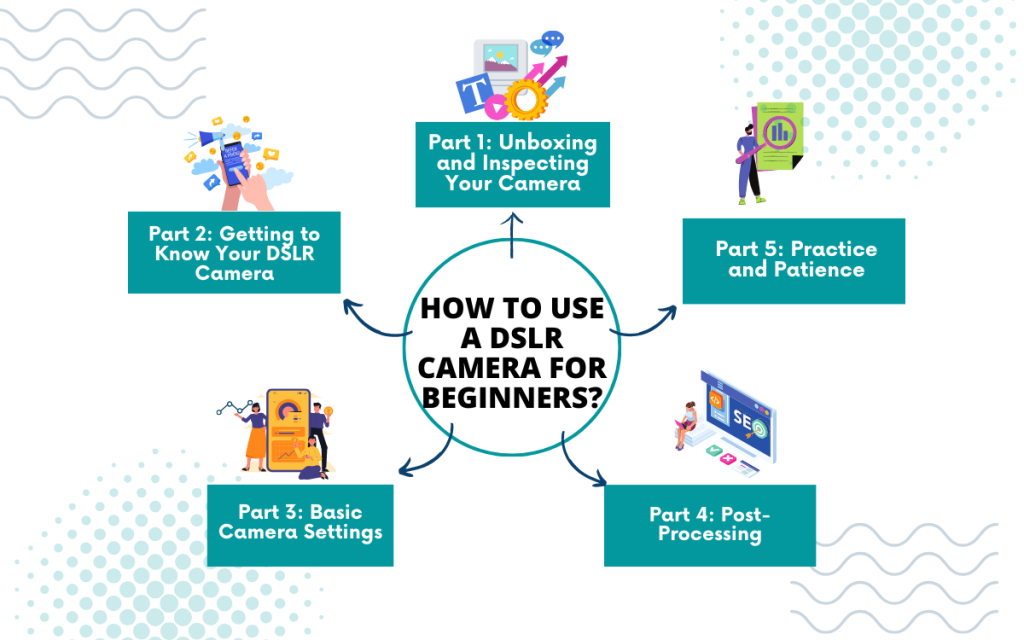
- 4 Part 1: Unboxing and Inspecting Your Camera
- 5 Part 2: Getting to Know Your DSLR Camera
- 6 Part 3: Basic Camera Settings
- 7 Part 4: Post-Processing
- 8 Part 5: Practice and Patience
- 9 Learning Resources for DSLR Photography
- 10 Conclusion:
- 11 FAQ on DSLR Camera Basics
What is a DSLR Camera?
Before we dive into the nitty-gritty of using a DSLR camera, let’s take a moment to understand what exactly a DSLR camera is and why it’s a fantastic choice for photography enthusiasts.
A DSLR camera is a type of digital camera. It uses a mirror and an optical viewfinder to show you a live preview of your subject.
DSLRs give you more control over your photography. You can adjust settings like aperture, shutter speed, and ISO.
How Does a DSLR Camera Work?
Now, let’s demystify the inner workings of your DSLR camera. Understanding how it functions is crucial to using it effectively.
Step 1: Light Enters the Lens
It all begins with the lens. When you take a picture, light goes into the lens and the camera starts working.
Step 2: The Mirror Reflects the Light onto the Sensor
Inside your DSLR, there’s a mirror positioned in front of the camera’s image sensor. When you take a picture, the mirror quickly moves so the light can reach the sensor.
Step 3: The Sensor Records the Image
The sensor is the heart of your DSLR. It captures the incoming light and converts it into a digital image. The size and quality of the sensor significantly impact the quality of your photos.
Step 4: The Image is Processed and Stored
After the camera captures the image, it uses its internal processor to process it. The processed image is then stored on your memory card as a digital file. You can later transfer these files to your computer for viewing and editing.
How to Use a DSLR Camera for Beginners: Getting Started with Your DSLR Camera!
Now that you understand the basics of how your DSLR works let’s get started using your DSLR camera for your photography journey.
If you’re new to photography and recently got a DSLR camera, you’re on your way to taking amazing photos. DSLR cameras are very versatile and give you a lot of control over your photos. However, they can be overwhelming when you first start using them. This guide will help beginners learn how to use a DSLR camera for better photos.
Part 1: Unboxing and Inspecting Your Camera
When you unbox your DSLR, take your time to inspect all the components. Make sure everything is in good condition and that you have all the necessary accessories.
Part 2: Getting to Know Your DSLR Camera
2.1. Understand the Camera Parts
Before you begin taking pictures, get to know the important parts of your DSLR camera.
- Lens: Interchangeable lenses allow you to control the focal length and composition of your photos.
- Shutter Button: Press it to take a photo.
- Mode Dial: Select shooting modes like Auto, Manual, Aperture Priority, and Shutter Priority.
- Viewfinder or LCD Screen: Use the viewfinder for an optical view or the LCD screen for a digital display.
- Menu Button: Access camera settings.
- Control Buttons: Buttons like ISO, shutter speed, and aperture help you adjust settings.
2.2. Battery and Memory Card
Ensure your camera has a charged battery and a memory card with sufficient space. When shooting for a long time, it’s helpful to have extra batteries and memory cards.
2.3. Choose the Right Lens
Different lenses are suited for various types of photography. A starter lens (usually 18-55mm) is good for beginners. It can work in different situations. Experiment with different lenses as you gain experience.
Part 3: Basic Camera Settings
3.1. Shooting Modes
- Auto Mode: Great for beginners; the camera handles settings automatically.
- Manual Mode (M): Allows full control over aperture, shutter speed, and ISO.
- Aperture Priority (A/Av): Control aperture while the camera sets shutter speed.
- Shutter Priority (S/Tv): Control shutter speed while the camera sets aperture.
Start with Auto mode and gradually transition to semi-automatic modes (Aperture Priority and Shutter Priority) before attempting Manual mode.
3.2. ISO
ISO controls your camera’s sensitivity to light. Lower ISO (e.g., 100-400) for bright conditions, higher ISO (e.g., 800-3200) for low light. Be cautious, as high ISO can introduce noise/grain to your photos.
3.3. Aperture
Aperture (measured in f-stops) controls depth of field. Lower f-numbers, like f/1.8, make the background blurry, while higher f-numbers, like f/16, keep more things in focus.
2.4. Shutter Speed
Shutter speed determines how long the camera’s sensor is exposed to light. Fast shutter speeds (e.g., 1/1000s) freeze motion, while slow speeds (e.g., 1/30s) create motion blur. Use a tripod for slower speeds.
Part 4: Post-Processing
Once you have taken your photos, you can make them better by adjusting brightness, color, and focus.
4.1. Why Post-Processing?
Post-processing improves and perfects your photos after you take them. Post-processing enhances your images by fine-tuning different aspects, after capturing the shot in-camera. Here’s what you can do with post-processing:
- Exposure Adjustment: Correct underexposed or overexposed areas in your photos.
- Color Correction: Adjust color balance, saturation, and vibrance to achieve the desired look.
- Sharpness and Clarity: Enhance details and make your photos appear sharper.
- Noise Reduction: Reduce digital noise, especially in low-light or high-ISO shots.
- Cropping and Composition: Reframe your image to improve composition.
- Creative Effects: Apply filters, presets, or creative effects to add mood or style.
4.2. Choosing the Right Software
There are various post-processing software options available, ranging from beginner-friendly to advanced. Two popular choices are Adobe Lightroom and Adobe Photoshop. Here’s a brief overview:
- Adobe Lightroom: Ideal for photographers looking for a user-friendly, non-destructive editing tool. It’s excellent for organizing and enhancing photos quickly.
- Adobe Photoshop: Offers advanced editing capabilities, including layers and pixel-level editing. It’s great for intricate retouching and compositing.
4.3. Workflow Basics
A typical post-processing workflow includes:
- Importing: Transfer your photos from the camera to your computer and organize them into folders or collections.
- Culling: Review your photos and select the best ones for editing, discarding any unusable shots.
- Editing: Adjust exposure, color, sharpness, and other elements as needed.
- Exporting: Save your edited photos in a format suitable for your intended use (e.g., JPEG for web, TIFF for printing).
- Backup: Always keep backups of your original photos and edited versions.
Part 5: Practice and Patience
5.1. The Importance of Practice
Photography is a skill that improves with practice. Here’s why practice is crucial:
- Understanding Your Camera: The more you use your DSLR, the better you’ll understand its features and capabilities.
- Developing Creativity: Practice encourages you to experiment with different angles, lighting, and compositions, helping you develop a unique style.
- Problem Solving: You’ll encounter various situations, each with its challenges. Practice helps you learn how to overcome these challenges effectively.
- Building Confidence: As you gain experience, your confidence in handling your camera and capturing great shots will grow.
5.2. Learning from Mistakes
Mistakes are an integral part of the learning process. Instead of being discouraged, use them as opportunities to improve:
- Review Your Work: Analyze your photos to identify what went wrong and what you could have done differently.
- Seek Feedback: Share your work with peers, join photography forums, or attend workshops to get constructive feedback.
- Experiment: Don’t be afraid to try new things and step out of your comfort zone. Some of your best discoveries might come from experimenting.
- Keep a Journal: Note your settings, lighting conditions, and other relevant details for each photo. This helps you learn from your successes and failures.
Remember, every photographer, even professionals, started as a beginner. No matter what you love, if you practice and wait, you can get good at DSLR photography. They can capture stunning images that show their unique perspective.
Learning Resources for DSLR Photography
Your journey as a DSLR photographer is just beginning, and there’s always more to learn. Here are some valuable resources to help you on your way:
- Books or article: Look for beginner-friendly photography books, article are listed in below:
- DSLR Camera Tips and Tricks: Beginners Guide
- What is the Best DSLR Camera for Photography
- Best DSLR Photography Tips and Tricks: Enhance Your Skills !
- Online Courses: Platforms like Udemy and Coursera offer photography courses.
- YouTube Channels: Channels like “DigitalRev TV” and “The Art of Photography” provide informative tutorials.
- Photography Forums: Join online photography communities to share your work and learn from others.
Conclusion:
Congratulations on completing this beginner’s guide on how to use a DSLR camera. You’ve made great progress in photography. Now, you know about your camera and how to take great pictures. You can capture amazing moments with confidence.
Remember that photography is both an art and a skill that grows with practice and dedication. As you continue to explore and practice, you will discover your own style and the potential of a DSLR camera.
Feel free to find inspiration in the world around you. Experiment with various photography styles to learn from errors and broaden your horizons. Joining photography communities, attending workshops, and staying curious will further accelerate your progress.
Every time you take a picture, you can capture images that are full of emotion and beauty. Keep your camera nearby. Let your creativity flow. Stay passionate as you start your DSLR photography journey. Happy shooting!
FAQ on DSLR Camera Basics
Q1. What are the 3 basic DSLR settings?
The three basic DSLR settings are:
- Aperture (f-stop): It controls the size of the lens opening, affecting depth of field and exposure.
- Shutter Speed: It determines how long the camera’s sensor is exposed to light, influencing motion blur and exposure.
- ISO: ISO measures the camera’s sensitivity to light and impacts image noise. Lower ISO values are used in bright conditions, while higher ISO values are suitable for low-light situations.
Q2. How to use a DSLR camera from Nikon?
Using a Nikon DSLR camera involves several steps:
- Power On: Turn on the camera using the power switch, typically located near the shutter button.
- Select Mode: Choose the shooting mode based on your preferences and the type of photography you’re doing.
- Adjust Settings: Set the aperture, shutter speed, and ISO as needed for your shot.
- Compose and Focus: Frame your shot using the viewfinder or LCD screen and use the autofocus system to achieve sharp focus.
- Take the Shot: Press the shutter button to capture the image.
- Review and Edit: After taking photos, review them on the camera’s LCD screen and consider post-processing if necessary.
Q3. How to use a digital camera?
Using a digital camera, whether it’s a DSLR or a compact digital camera, typically involves these steps:
- Power On: Turn on the camera using the power button.
- Select Mode: Choose the shooting mode based on your needs (e.g., Auto, Manual, Scene modes).
- Frame and Focus: Use the viewfinder or LCD screen to compose your shot and ensure it’s in focus.
- Adjust Settings: Depending on the mode, you may need to adjust settings like ISO, aperture, and shutter speed.
- Capture the Image: Press the shutter button to take the photo.
- Review and Edit: After capturing the image, review it on the camera’s display and consider editing it if necessary.
- Transfer Photos: To access and share your photos, connect the camera to a computer or use a memory card reader.
Q4. How to turn on a Canon DSLR camera?
Turning on a Canon DSLR camera is a straightforward process:
- Locate the Power Switch: Find the power switch on your Canon DSLR, usually located near the shutter button or on the top of the camera.
- Flip the Switch: Move the power switch to the “On” position. You may need to hold it for a moment until the camera initializes.
- Check the LCD Screen: Once the camera is on, the LCD screen should activate, and you’ll see the camera’s settings and options.
- Begin Shooting: You’re now ready to start using your Canon DSLR camera to capture photos and videos.
2 thoughts on “How to Use a DSLR Camera for Beginners: Enhance Newbies Skill !”