Arlo cameras allow homeowners to monitor their property remotely, revolutionizing home security. These smart cameras make you feel safe. They let you easily watch your home, loved ones, and valuable things. To make sure Arlo cameras work properly, users must know how to charge them.
Arlo cameras have batteries that can be recharged, so they can work without being plugged in. This makes them very flexible. To charge batteries effectively, you need a clear understanding of how they work.
In this detailed guide, we will explore the Arlo Camera Charging Process. We will cover tips for best practices and troubleshooting. By the end, you’ll have the knowledge to keep your Arlo cameras ready for important moments.
Contents
- 1 Understanding Arlo Camera Batteries
- 2 How to Charge Arlo Cameras – Arlo Camera Charging Process
- 3 Arlo Camera Charging Indicators and Status
- 4 Factors Affecting Arlo Cameras Charging Time
- 5 Arlo Camera Charging Best Practices and Tips
- 6 Arlo Cameras Troubleshooting Charging Issues
- 7 Conclusion
- 8 FAQs on Arlo Camera Charging Process
Understanding Arlo Camera Batteries
At the heart of Arlo cameras’ untethered convenience are their rechargeable lithium-ion batteries. These batteries are made to last, so your cameras can work well for a long time. The batteries in different cameras can last for months before they need to be recharged. The battery’s lifespan depends on how often it detects motion and how much power it uses.
It’s crucial to note that Arlo camera batteries are not one-size-fits-all. Different camera models might have varying battery capacities to match their performance demands. To find out how long your camera can work before it needs to be charged, you need to know about its battery.
Arlo’s commitment to sustainability is evident in their use of rechargeable batteries. Using Arlo cameras not only helps the environment but also saves money in the long run. To get the most out of rechargeable batteries, you need to know how to charge your Arlo camera.
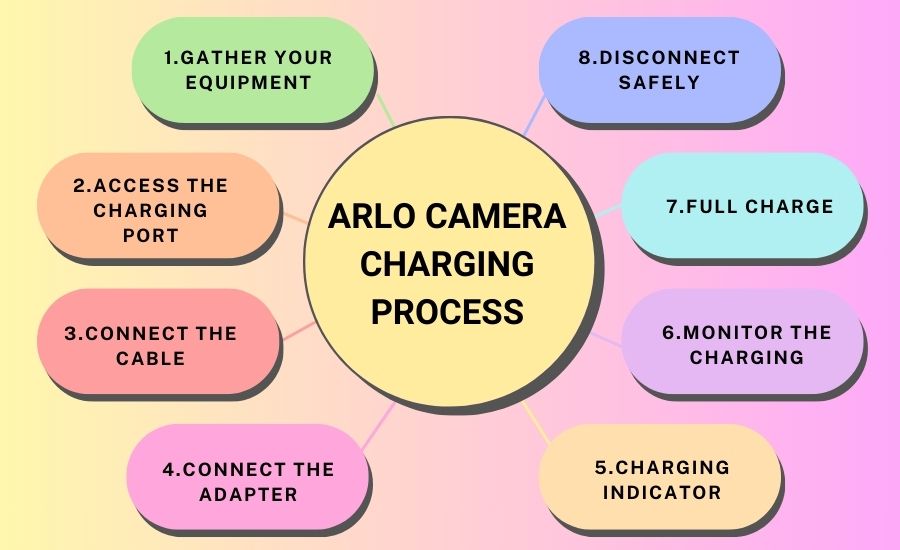
How to Charge Arlo Cameras – Arlo Camera Charging Process
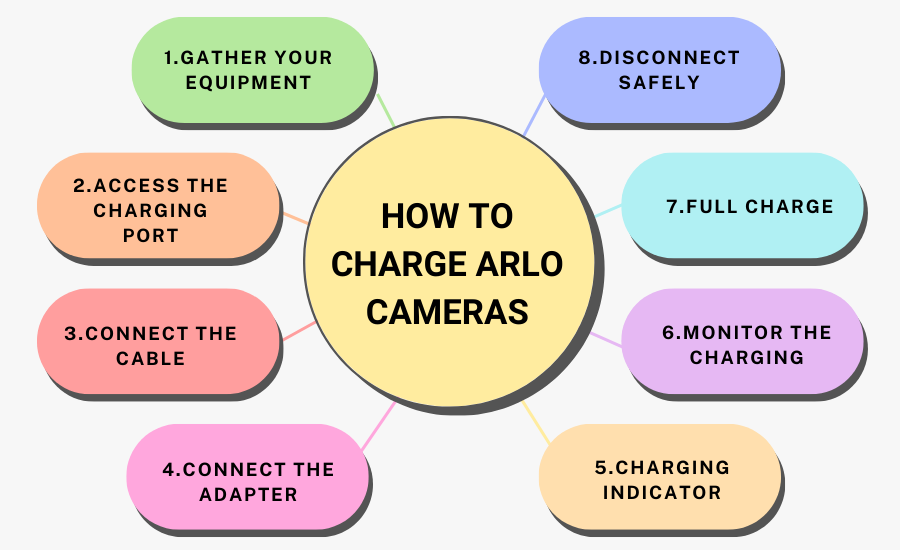
To charge your Arlo camera properly, follow these steps to keep the battery working well. Here’s a step-by-step guide to the Arlo Camera Charging Process:
- Gather Your Equipment: Make sure you have all the stuff you need, like the charging cable and adapter. Using third-party accessories can lead to compatibility and safety issues.
- Access the Charging Port: Locate the micro-USB charging port on your Arlo camera. This port is typically situated on the back or bottom of the camera, protected by a rubber cover.
- Connect the Cable: By inserting the small end of the charger into the camera’s charging port. Make sure it’s inserted securely but not forced.
- Connect the Adapter: Plug the other end of the cable into the provided power adapter. Connect the adapter to a reliable power source, such as a wall outlet.
- Charging Indicator: Once the camera is connected, a charging indicator should illuminate. Depending on the model, this could be a solid green light or a flashing blue light. To know which indicator your camera has, check the manual that came with it.
- Monitor the Charging: Keep your camera connected to the charger and watch the charging indicator. The speed at which the indicator changes will give you an idea of the charging progress.
- Full Charge: If the battery is fully charged, the indicator may turn into a solid green light. At this point, your Arlo camera is ready to be disconnected and used.
- Disconnect Safely: To disconnect, first unplug the charging cable from the power source. Then, carefully remove the micro-USB end from the camera’s charging port.
Arlo Camera Charging Indicators and Status
Arlo cameras come equipped with LED indicators that communicate their charging status. The indicators are easy to understand. They show if your camera is charging or fully charged. Understanding these indicators helps you make informed decisions about your camera’s power.
- Solid Green Light: If the light on your Arlo camera is solid green, that means the battery is fully charged. This is a positive signal that your camera is ready to be used. Remember, the battery might charge slower when it’s almost full to avoid overcharging.
- Flashing Blue Light: When your Arlo camera is charging, you’ll see a flashing blue light. The camera’s changing light pattern indicates it’s receiving power and charging its battery. This stage can vary in duration, depending on the battery’s current level and capacity.
Understanding these indicators provides valuable insights into the Arlo Camera Charging Process. Pay attention to the lights and their patterns. This will help you know when to unplug your camera and use it.
Factors Affecting Arlo Cameras Charging Time
The time it takes to fully charge an Arlo camera battery can vary based on several factors. To know how long to charge your camera, consider these factors and plan accordingly.
here’s a table of the factors that can affect the charging time of Arlo cameras:
| Factor | Description |
|---|---|
| Battery Capacity | Cameras with higher battery capacities will generally take longer to charge. |
| Camera Model | Different Arlo camera models might support varying charging technologies, affecting charging times. |
| Charging Method | Direct outlet charging is typically faster than using a computer’s USB port. |
| Power Source Quality | The stability and output of the power source can impact charging speeds. |
| Current Battery Level | Charging a near-depleted battery takes longer than topping up a partially charged one. |
The charging time for Arlo cameras can vary. Make sure the camera stays connected until the charging light turns solid green.
Arlo Camera Charging Best Practices and Tips
To make your Arlo camera’s battery last longer and work better, charge it properly. Here are some best practices and tips to keep in mind:
- Use Official Accessories: Stick to using Arlo’s official charging cable and adapter accessories. This ensures compatibility and prevents potential damage due to incorrect voltage.
- Avoid Overcharging: To avoid overcharging, unplug your camera battery once the green light is fully on. Overcharging can degrade battery performance over time.
- Ideal Charging Conditions: Charge your Arlo camera in a cool and dry environment. Avoid extreme temperatures, as they can impact battery health.
- Regularly Check the Indicator: Check the charging indicator regularly. It shows how much battery your camera has. This prevents surprises and allows you to plan camera usage accordingly.
- Minimize Interruptions: To make your camera’s battery last longer, try not to frequently unplug and plug it in.
- Keep Firmware Updated: Ensure your camera’s firmware is up-to-date. Sometimes, firmware updates can improve charging efficiency and overall battery management.
Arlo Cameras Troubleshooting Charging Issues
Despite following best practices, you might encounter charging issues with your Arlo camera. Here are some common problems and troubleshooting steps:
- Charging Indicator Not Lighting Up: Make sure the charging cable is firmly connected to both the camera and the power source. Try a different outlet or charging cable to rule out potential issues.
- Slow Charging: If your camera is taking a while to charge, make sure you’re using the right Arlo cable and adapter. Using a lower-output adapter might result in slower charging speeds.
- Fluctuating Charging Indicator: If the charging indicator flashes, it may be due to a poor connection or an unsteady power source. Ensure the charging cable is securely connected and try a different outlet.
- Overheating during Charging: If your camera gets really hot when you charge it, it could be because of the surroundings. Move the camera to a cooler location and ensure it’s not covered or obstructed.
- Charging Indicator Stuck: If the charging light doesn’t change for a while, the camera might have a hardware or software issue. Contact Arlo’s customer support for assistance.
Conclusion
Arlo cameras keep our homes and loved ones safe from modern threats with home security. These new devices have made monitoring things easier and more convenient for us. But, the key to keeping Arlo cameras running smoothly is the Arlo Camera Charging Process.
When we learn how to change these cameras, we can protect our homes better. Charging our cameras isn’t just about refilling batteries. It’s also about getting them ready to capture important moments. We find peace of mind by staying vigilant, whether at home, work, or abroad.
Following the best practices in charging Arlo cameras shows our commitment to security. We make sure our cameras are ready for duty, showing responsibility and preparedness. To take care of our cameras, we should regularly look at the charging indicators to see if they’re ready. We quickly fix charging problems to keep our surveillance network secure.
FAQs on Arlo Camera Charging Process
Q1: How do I know if my Arlo camera is charging?
- A1: When you charge your Arlo camera, a blue light will flash near the charging port. The blinking light shows that the camera is getting power and charging its battery. Once the battery is fully charged, the light might change to a solid green.
Q2: Can I use any charging cable and adapter to charge my Arlo camera?
- A2: It’s recommended to use the official charging cable and adapter provided by Arlo. If you use cables or adapters from other companies, the camera’s battery might not charge well. It could even get damaged.
Q3: How long does it take to fully charge an Arlo camera battery?
- A3: The amount of time it takes to charge an Arlo camera battery can vary. This depends on factors like the camera model, battery capacity, and charging method. Generally, it can take several hours to fully charge a depleted battery. Once the battery is fully charged, the flashing blue indicator will turn solid green.
Q4: Can I overcharge my Arlo camera battery?
- A4: Arlo cameras are designed to prevent overcharging. After the battery is fully charged, it charges slower and the camera stops using the charger. This helps protect the battery from damage caused by overcharging.
Q5: Is it safe to charge my Arlo camera overnight?
- A5: You can charge your Arlo camera overnight without worrying about overcharging. To keep your battery healthy and safe, unplug the camera once it’s fully charged. This helps extend the overall lifespan of the battery.
1 thought on “Arlo Camera Charging Process – The Ultimate Guide!”